Thermostat housing replacement costs average $613-$716 in the US, before taxes and fees. Easy-access repairs can cost less, while complex assemblies can cost more. To judge your quote, start with one question: does it cover the housing, the thermostat, or the complete assembly?
How much should you budget?
A thermostat valve and a thermostat housing do different jobs. Online prices often blur that distinction, which can make a sensible repair estimate look alarming.
These published US ranges describe different repair scopes:
| Repair scope | Published cost range | What the figure covers |
|---|---|---|
| Thermostat housing replacement | $613-$716 | National estimate for parts and labor; excludes taxes and fees |
| Professional thermostat replacement | $150-$500 | General thermostat repair guide; does not establish your housing repair price |
| DIY thermostat replacement | $50-$200 | General parts-and-supplies budget; complex housings and tools can push costs higher |
The housing estimate assigns roughly $411-$419 to parts and $202-$296 to labor. Those figures describe an average repair mix, rather than every vehicle.
These US pricing guides list the ranges above as of November 2026. Get an estimate for your model year, engine, and ZIP code before setting your budget.
What does the thermostat housing do?
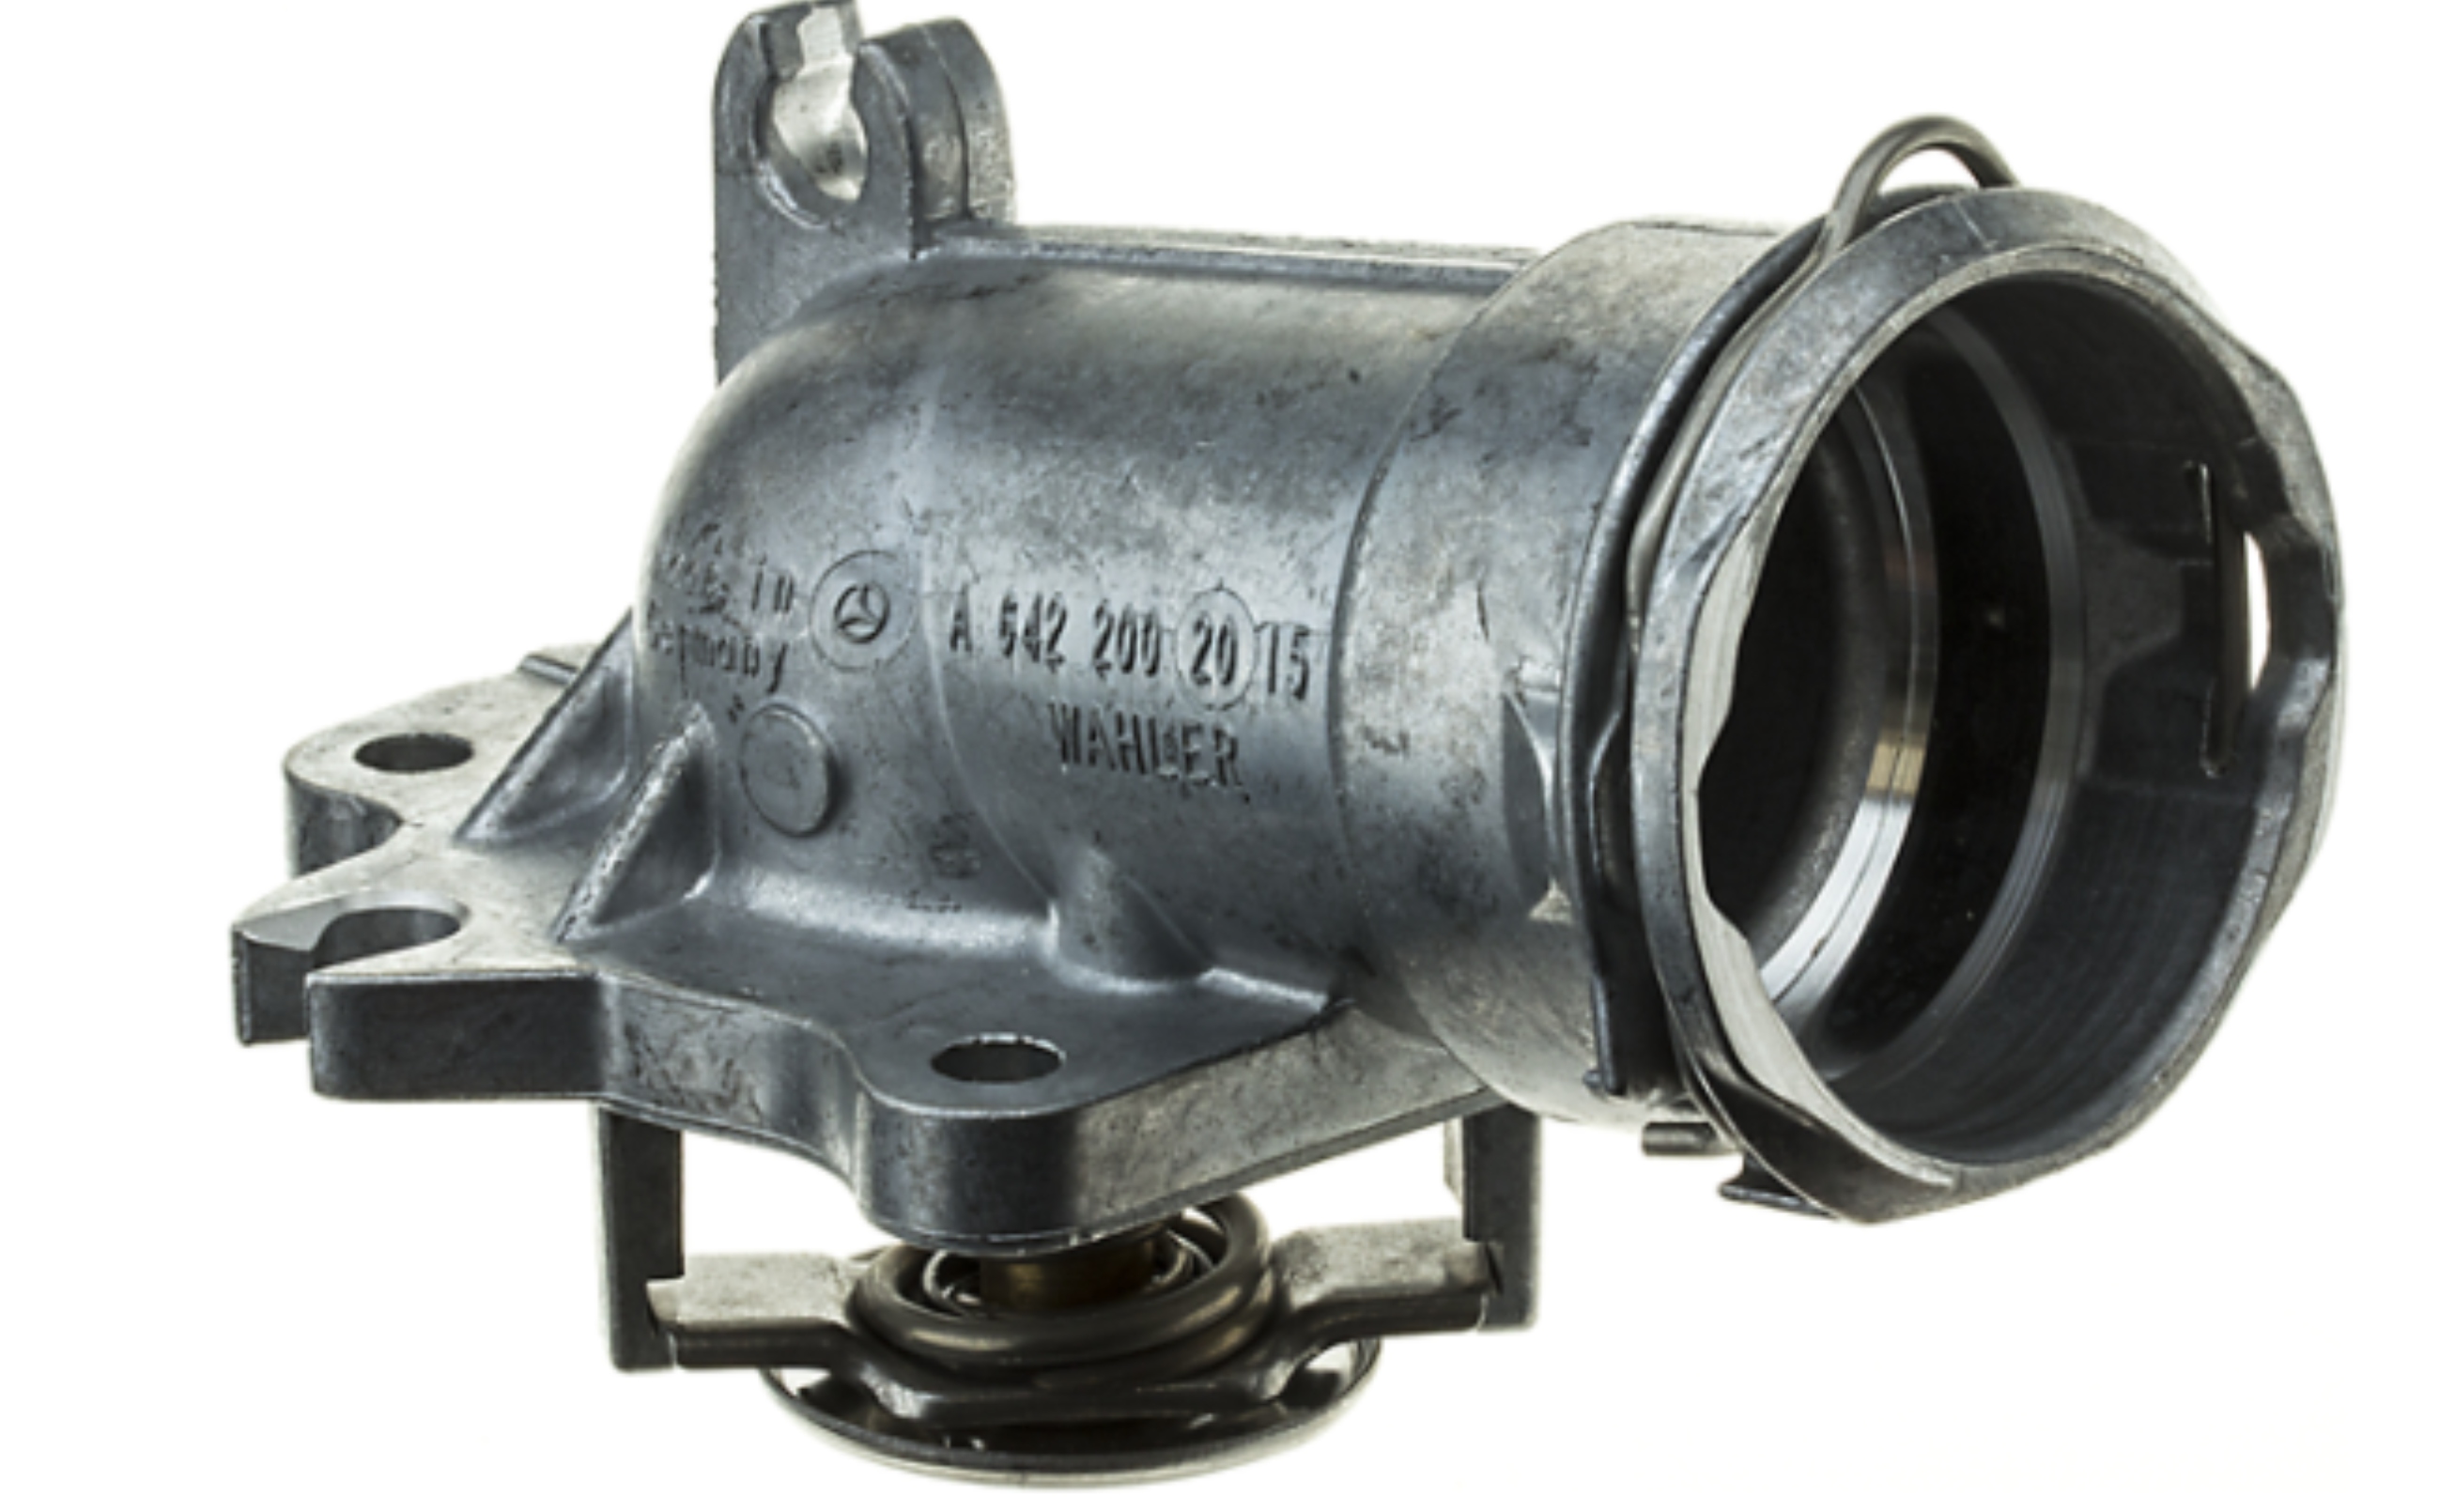
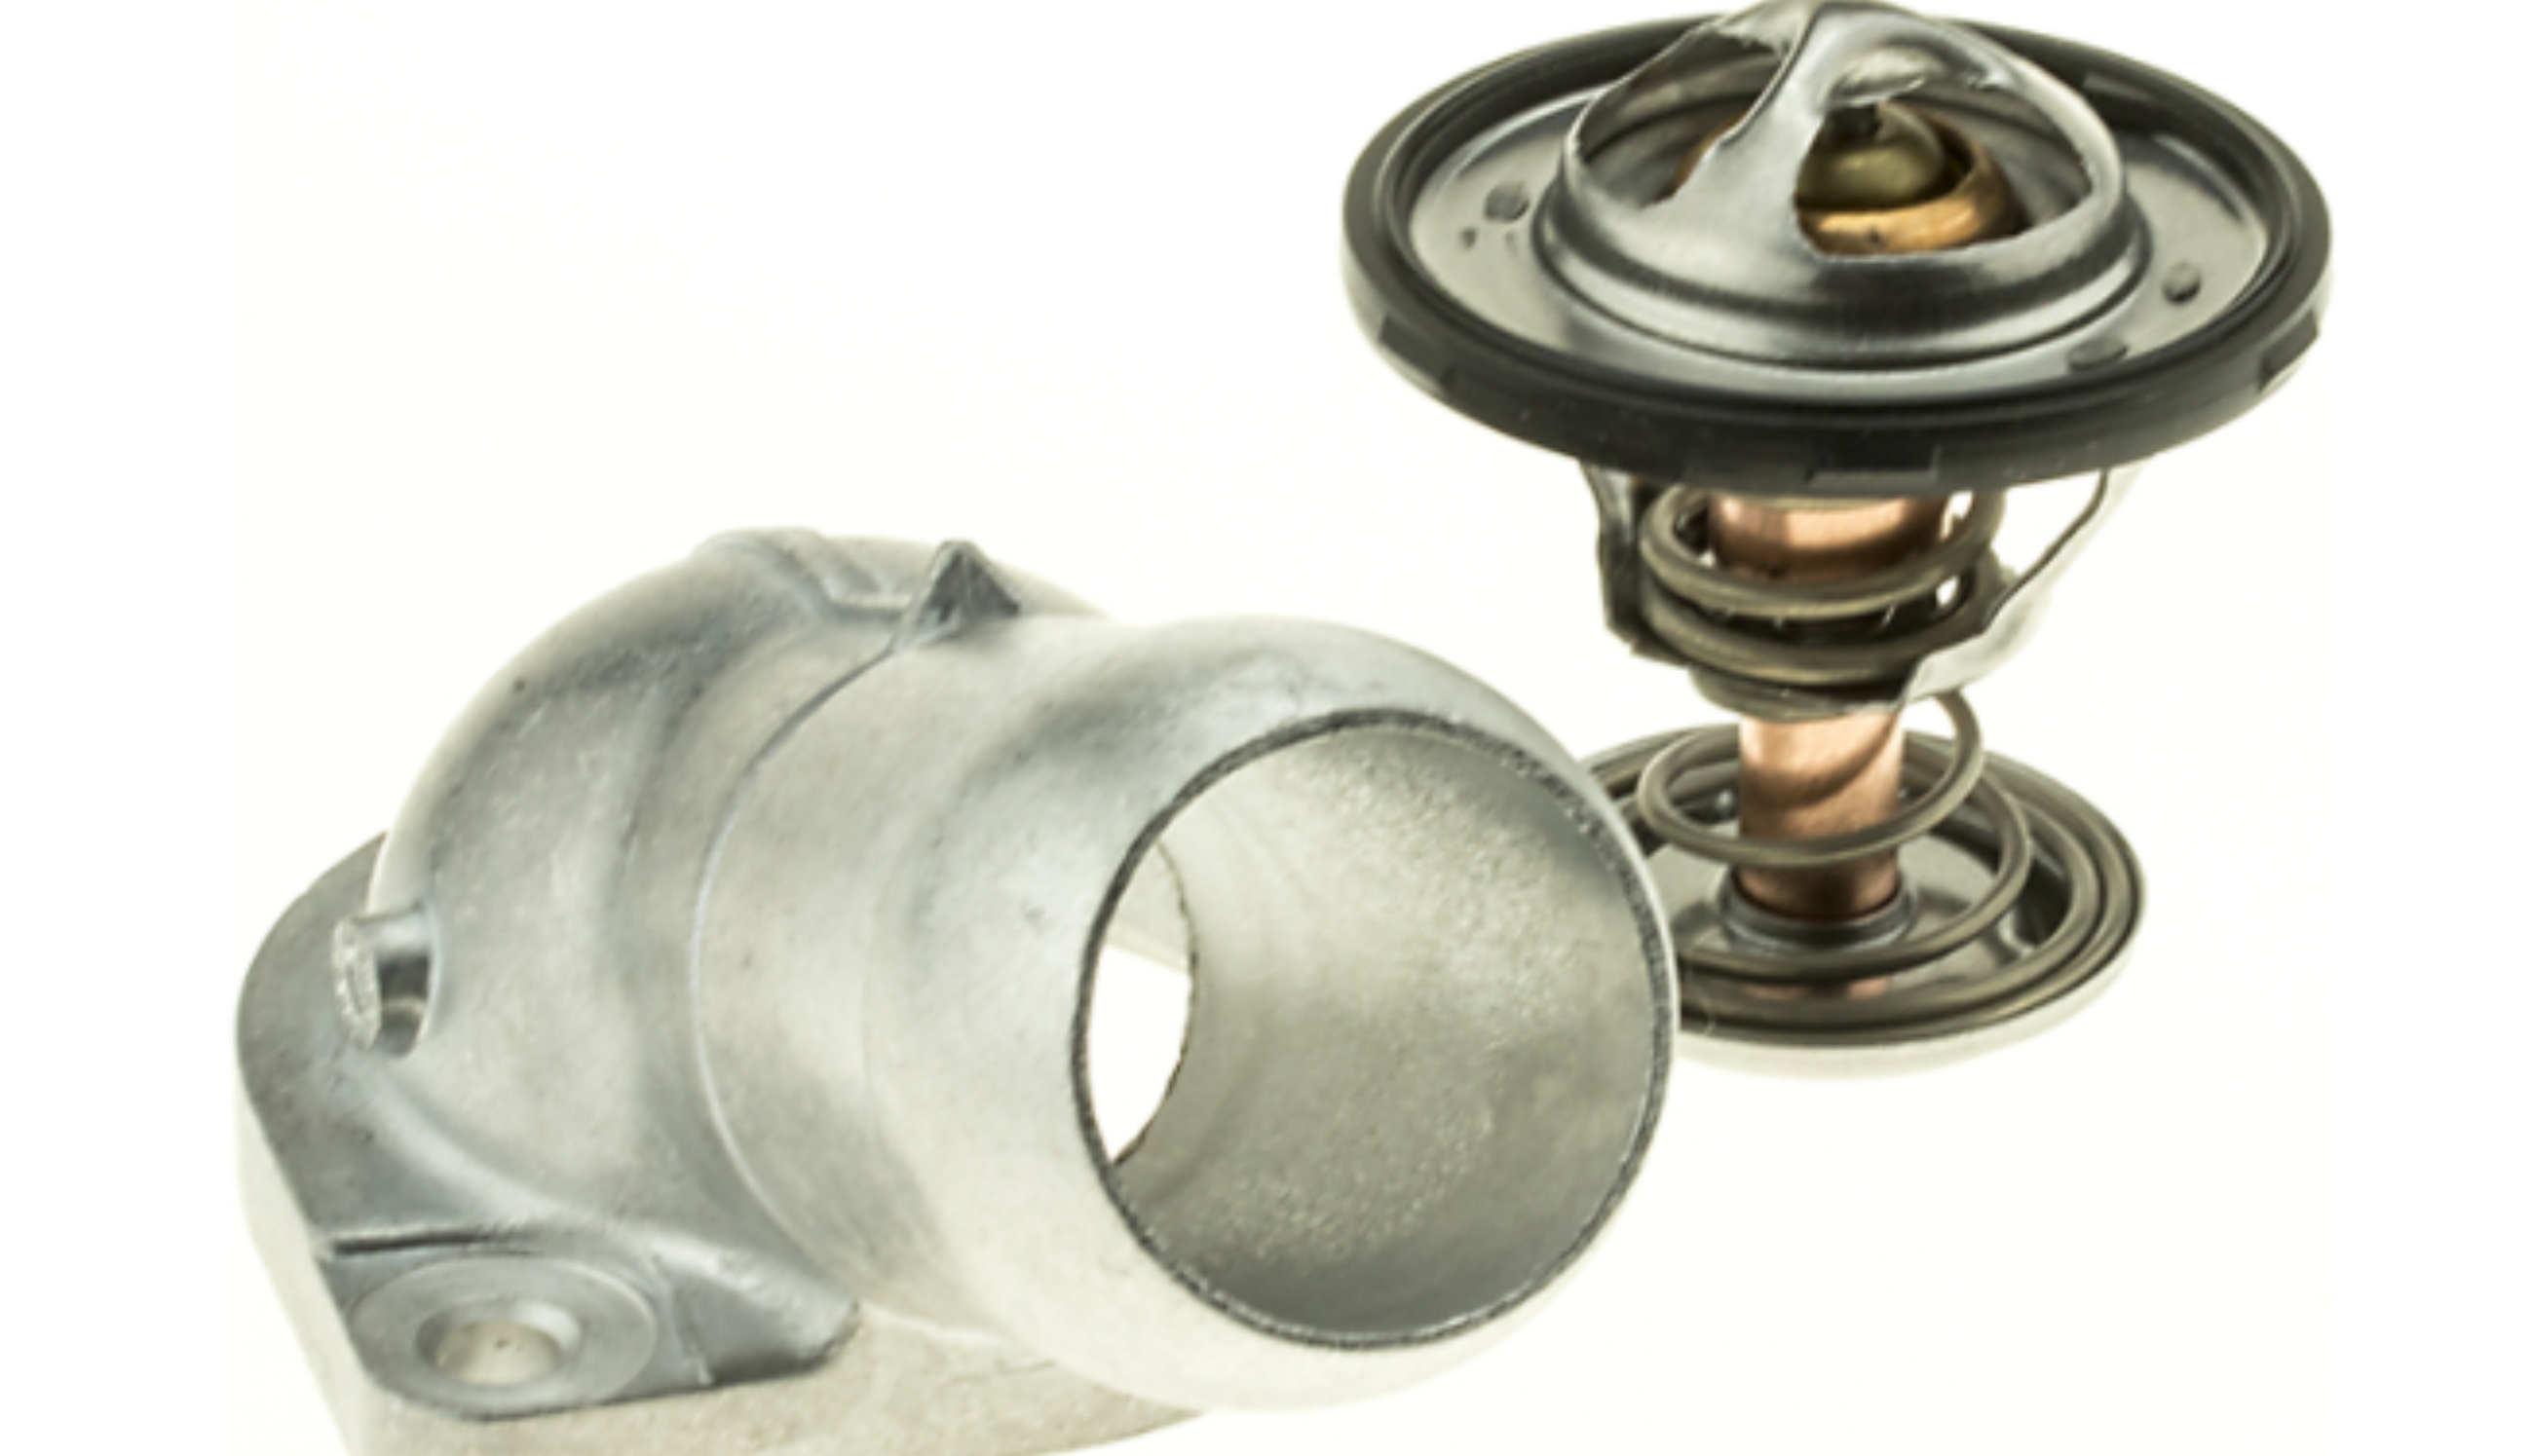
Definition: The thermostat housing holds the thermostat and connects coolant passages or hoses to the engine. The thermostat regulates coolant flow to the radiator.
A crack, damaged hose connection, or leaking seal lets coolant escape. The valve inside may still work perfectly.
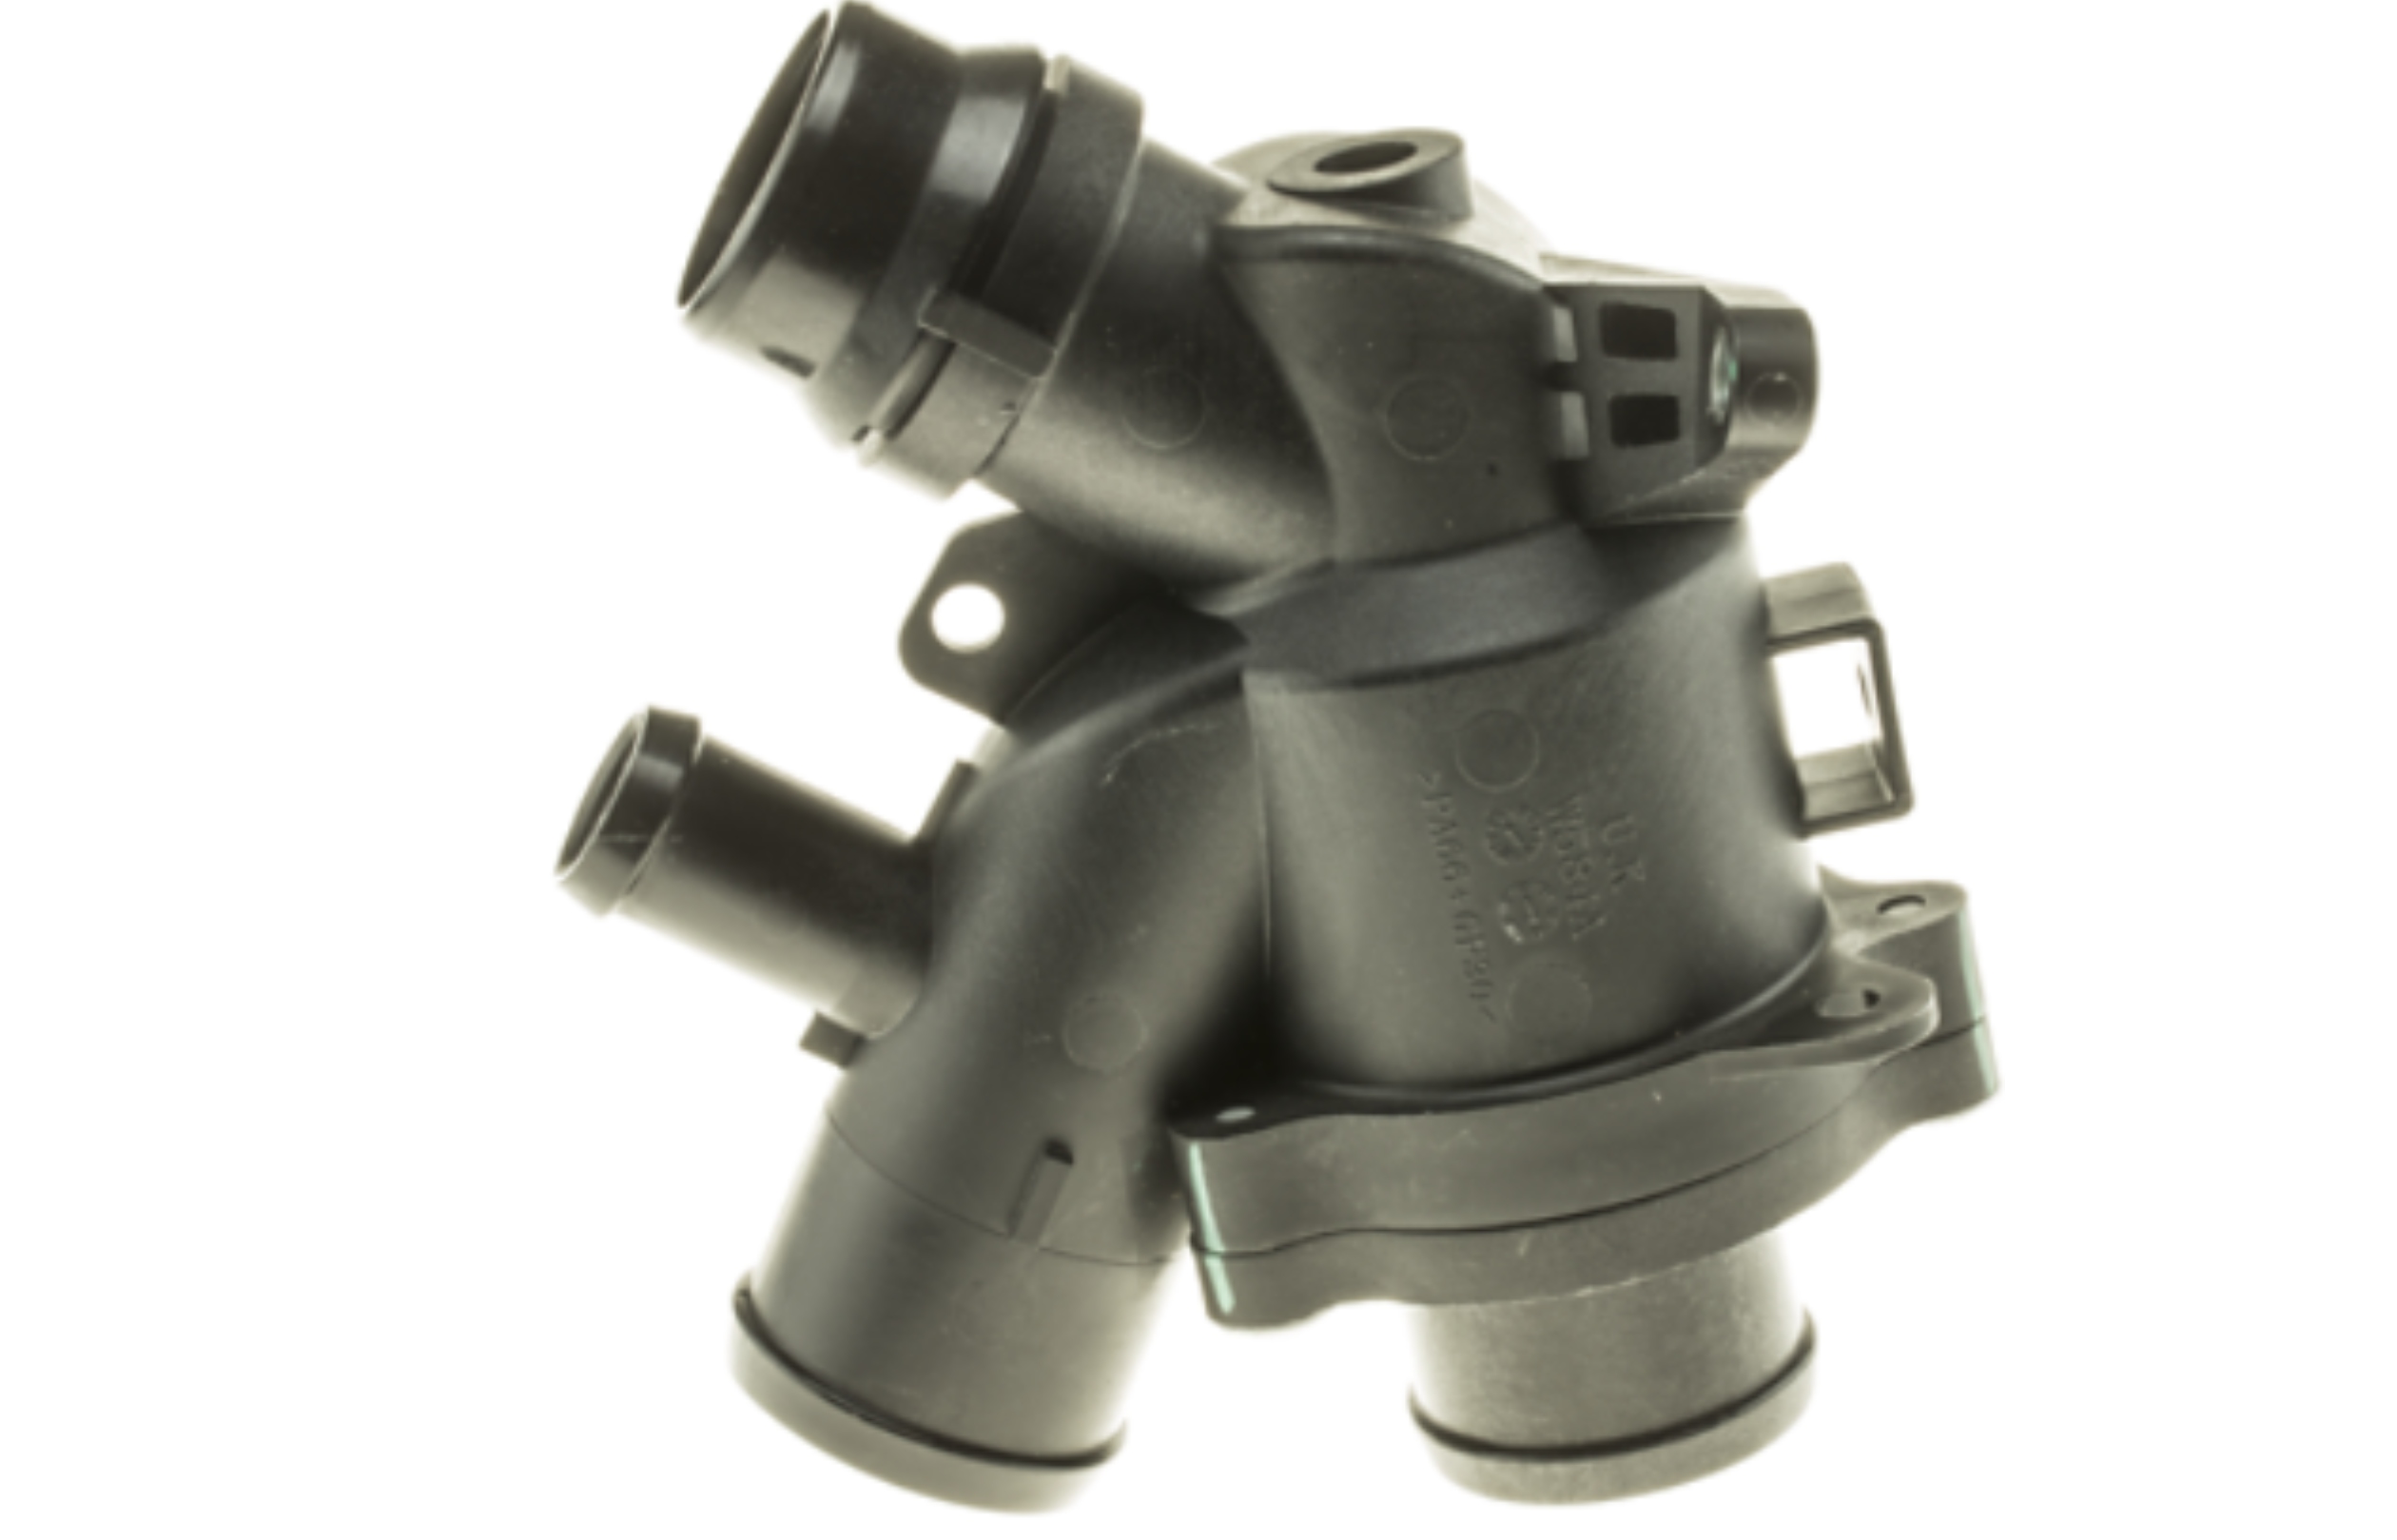
Some engines use a separate housing and removable thermostat. Others use an integrated assembly containing the housing, thermostat, and seals. Certain assemblies also carry a temperature sensor or electrical connection.
Gates currently sells standard and map-controlled integrated housings. Its standard assemblies include the thermostat, insert, seal, and housing. Map-controlled designs let the engine computer influence thermostat operation.
That explains why comparing a small replacement valve with a complete assembly produces such confusing prices. You need the correct repair scope before the cheapest listing means anything.
Why can repair quotes differ so much?
Access changes the labor bill
An easy-to-reach housing takes less work than one behind intake plumbing or other components. The engine version can change access even within the same model range.
Current service instructions can also change the job. On certain 2025-2026 Ford Escape and Bronco Sport vehicles with the 1.5-liter EcoBoost engine, the updated thermostat housing procedure removes the need to take out the generator assembly.
Ask the shop to check the latest procedure for your VIN. The revised access steps do not establish a fixed price or promise free repairs.
The box contents change the parts bill
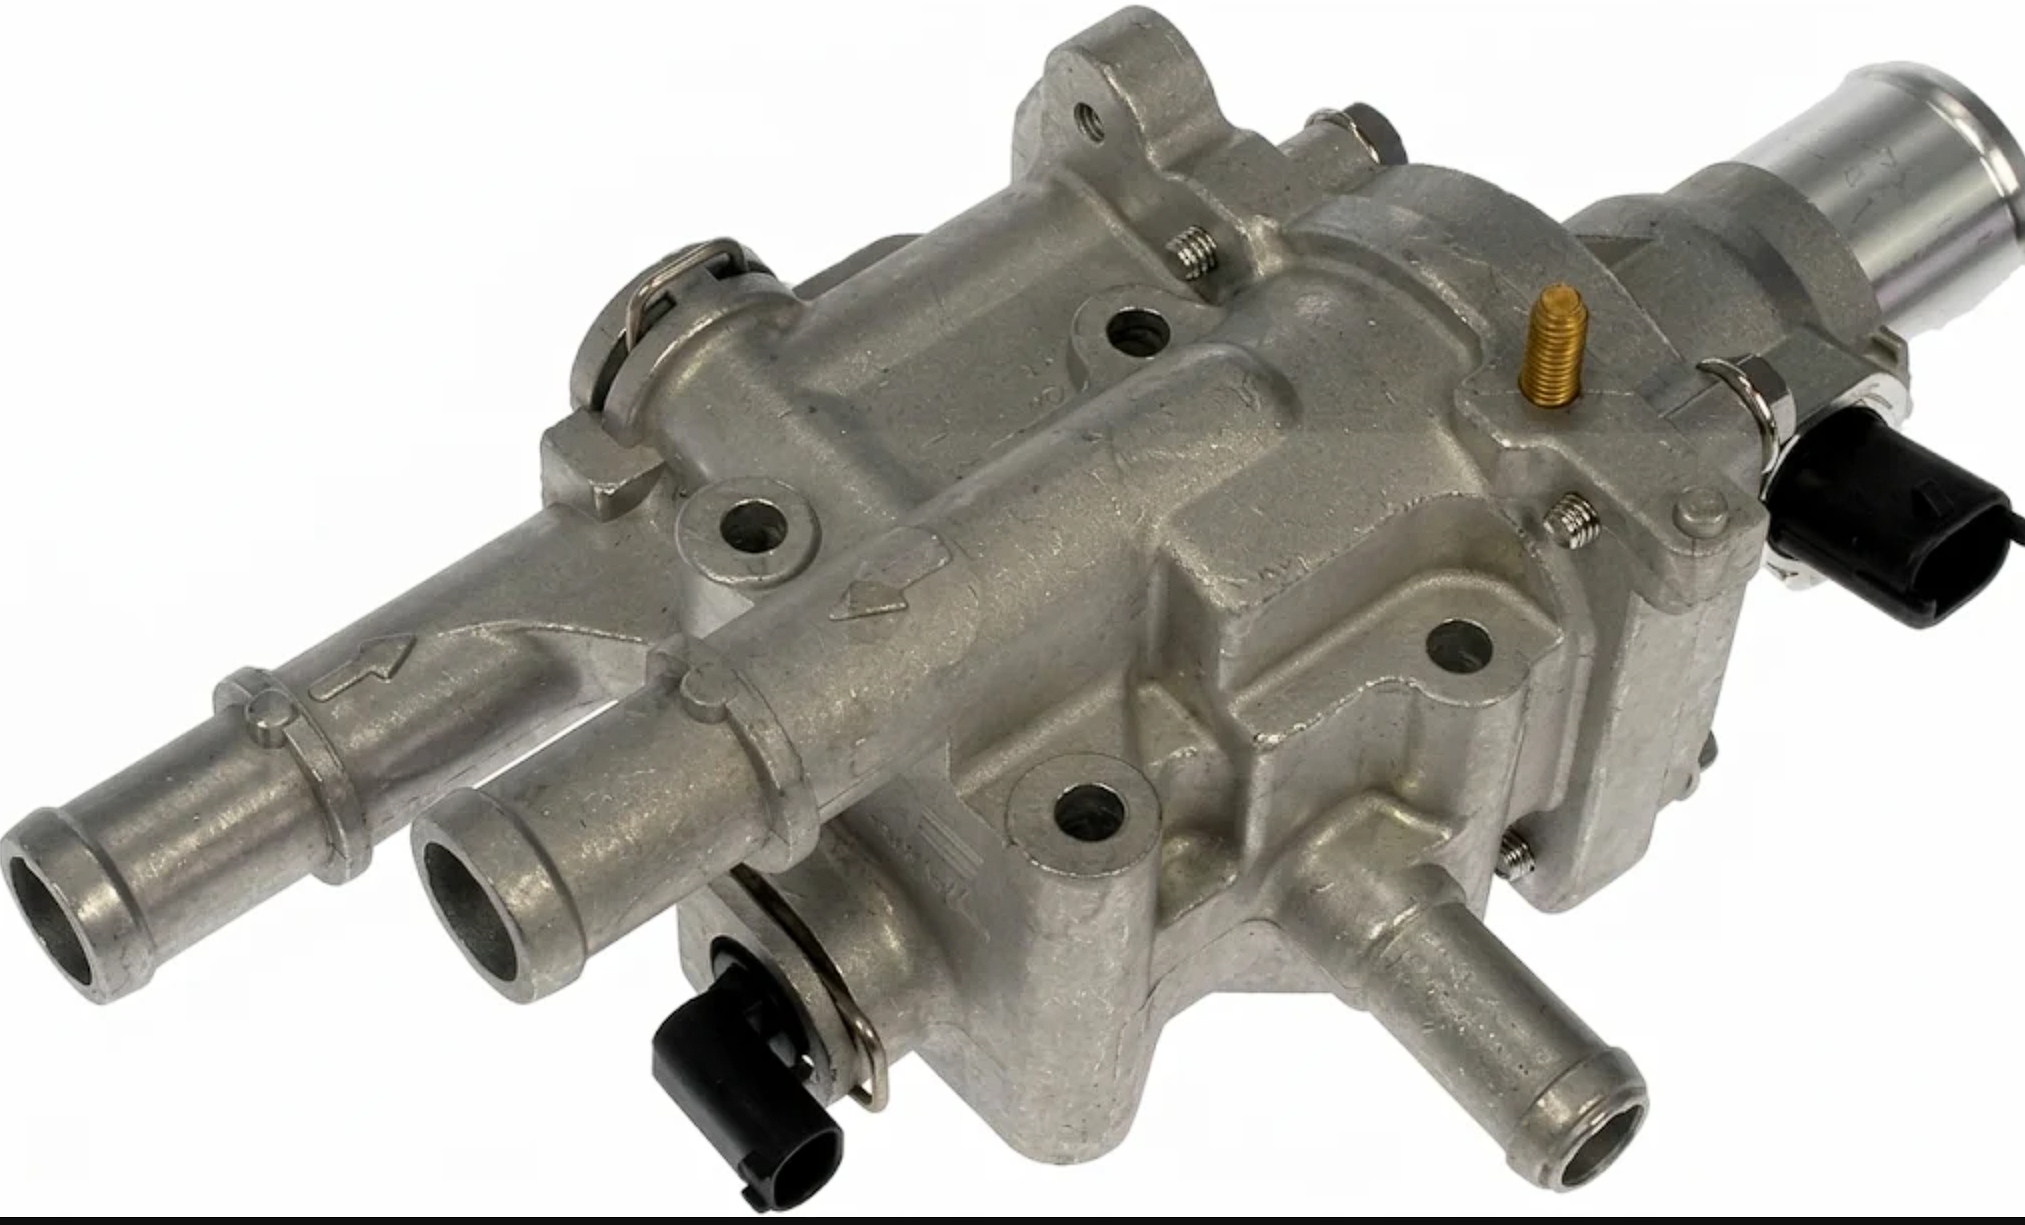
Dorman's current 902-033 metal housing assembly includes a thermostat, sensor, gasket, and O-ring. Its catalog lists selected Chevrolet Cruze, Sonic, and Trax applications, with fit checks still necessary.
Dorman describes the metal design as an alternative to the original plastic construction. That gives shoppers a specific option to compare, rather than a reason to buy any metal housing.
Check these details before comparing prices:
- Exact part number and engine fit.
- Housing alone versus a complete assembly.
- Included thermostat, sensor, seals, and hardware.
- Parts warranty and installation coverage.
A lower shelf price can lose its appeal when you add missing components.
Confirm the leak before replacing the housing
A puddle tells you that coolant escaped. It does not identify the failed part.
Ask the technician to locate the leak and show you a photo. Fresh wetness around a housing seam supports the diagnosis, but coolant can travel from a nearby hose connection.
A cooling-system pressure test can help locate leaks without relying on a puddle after a drive. The technician should follow the vehicle's test pressure and procedure.
Three related checks help prevent an unnecessary housing purchase:
- Radiator leaks: check the radiator and its hose connections when the housing area stays dry.
- Water pump leaks: check the pump area when coolant appears elsewhere on the engine.
- Coolant temperature sensor faults: test suspect readings when the warning concerns temperature rather than visible coolant loss.
Does P0128 prove the housing failed?
No. P0128 means coolant temperature stayed below the expected thermostat regulating temperature. The code alone does not prove a cracked housing.
A stuck-open thermostat can cause slow warm-up. Sensor faults can also send diagnosis in another direction.
On some FCA vehicles, factory P0128 diagnosis calls for a coolant temperature sensor check before thermostat replacement. Follow the procedure for your vehicle; do not copy its sensor test onto unrelated engines.
Can you replace only the seal?
Sometimes. A new seal may solve a leak when the housing remains flat, intact, and suitable for reuse.
Ask the technician to inspect the mounting surface and housing condition. Cracks, distortion, damaged hose outlets, or corrosion at the sealing area can justify replacement.
An integrated design may require the complete unit. Trying to save a working thermostat inside a nonserviceable assembly can waste time and create another leak.
Fresh seals belong in the repair plan. Extra sealant does not rescue damaged parts, and an O-ring design may need no added sealant.
Pro-Tip: Ask, "What failed, and what evidence supports replacing the whole assembly?" A clear answer makes the quote easier to assess.
How to check a thermostat housing repair quote
Request an itemized estimate before approving work. Compare two shops using the same vehicle details and repair scope.
- Identify the part. Ask for the brand, part number, and included components.
- Check labor. Ask for the billed hours and hourly rate.
- List coolant. Confirm the required specification, quantity, and refill procedure.
- Separate diagnosis. Ask how the shop charges for testing and credits any diagnostic fee.
- Check added repairs. Ask for evidence behind extra hoses, sensors, or other parts.
- Read the warranty. Confirm the time limit, mileage limit, and labor coverage.
Here is an illustrative quote using assumed prices, rather than a vehicle-specific estimate:
- Housing and thermostat assembly: $150.
- Labor: 1.5 hours at $150 per hour, totaling $225.
- Coolant, separate seals, and supplies: $55.
That totals $430 before tax or any separate diagnostic charge. This example sits below the national housing estimate because it assumes a lower parts price.
It does not prove that a $700 quote overcharges you. A different assembly, access procedure, or labor rate can explain the difference. Ask the shop to explain its own numbers.
Can you replace the thermostat housing yourself?
A capable DIY owner can tackle some accessible housings. The savings come from avoiding labor charges, but the job still needs correct parts, tools, and service instructions.
Before buying anything, check these requirements:
- Access to the fasteners and hose connections.
- A torque wrench that covers the specified range.
- A drain pan, eye protection, and suitable gloves.
- Correct coolant and new seals.
- The engine's filling and air-removal procedure.
Find the factory procedure before loosening anything. A guide on a free article submission website may offer tips, but your engine needs its own torque values.
The general work sequence involves cooling the engine completely, draining coolant as directed, removing the old assembly, and cleaning the mounting surface. Install the correct seals, tighten fasteners to specification, then refill and remove trapped air.
Follow the specified thermostat orientation if your repair includes a separate valve. Add sealant only when the vehicle procedure calls for it.
Leave difficult access, damaged fasteners, or unfamiliar filling requirements to a qualified shop. A rushed refill can erase the savings through overheating.
How can you avoid paying twice?
Buy by verified fit, rather than appearance. Two housings can look alike while using different sensors, connections, or thermostat settings.
Ask about original-equipment parts and established aftermarket options, including Gates and Dorman where their catalogs cover your engine. Compare the complete package and warranty.
Before supplying your own parts, ask about the shop's policy. Some shops limit warranty coverage when customers provide components.
Also ask what genuinely overlaps with the work. Replacing a damaged hose while the technician already has access may save repeat labor. A water pump elsewhere on the engine may offer little shared access.
A coolant refill does not automatically call for a chemical flush. Ask what contamination or service requirement supports that extra charge.
Can you drive with a leaking thermostat housing?
A confirmed coolant leak calls for prompt repair. A normal temperature gauge does not promise that the coolant level will stay safe.
If the gauge reaches the hot zone, an overheating warning appears, or steam escapes, pull over safely and switch off the engine. Arrange roadside help rather than driving toward a repair shop.
Never open a hot radiator cap or pressurized coolant reservoir cap. Escaping steam and coolant can cause severe burns.
Wait until the engine and cooling system cool completely before checking the level. Follow your owner's manual, keep clear of steam, and keep children and pets away from spilled coolant.
Repeated top-ups leave the original leak in place. Repair the cause.
Get a diagnosis, then compare the right repair
Start with your VIN, engine details, symptoms, and an itemized quote. Ask the shop to confirm the leak, identify the exact assembly, and explain coolant service and warranty coverage.
After repair, check the coolant level with the engine cold as your manual directs. Report renewed leaks, poor cabin heat, or abnormal temperature readings promptly.
- 4 views